NRIs and OCIs living in the USA who own Indian property, have bank accounts or other legal dealings in India often find themselves in complex legal situations as the legal procedures in India can be quite different compared to the USA. A Power of Attorney can help reduce travel frequency and hassle and make life easier for such individuals.
Furthermore, the process of acting as a Power of Attorney on someone’s behalf or giving a Power of Attorney for someone to act on your behalf, if not executed properly can end up wasting precious time and money.
We have outlined the three steps you will need to follow to ensure that your Indian Power of Attorney process from the USA is seamless and worry-free.
Step 1. Drafting the Indian Power of Attorney
The best way to begin the process is to seek professional legal advice from someone experienced in such matters. There is a vast amount of conflicting information online and seeking the right legal advice will save time and money.
The content and structure of the Power of Attorney document is vital. You must ensure that the content is clear and concise to ensure that the Attorney can carry out the intended tasks. The contents of the Power of Attorney must adhere to Indian Law. If the local authorities or officers in India find the contents of the Power of Attorney ambiguous, they may refuse to process the desired work.
Your Attorney in India may also send you the drafted Power of Attorney. If you choose to take this option, it is strongly recommended that you have a professional Indian legal advisor to review the Powers you are giving in the document.
The Indian Power of Attorney will require you to have two witnesses who will sign the document. You must ensure that the witnesses are not related to you or do not benefit from the execution of Power of Attorney in any way.
You will all need to provide photographic proof of identity as well as hard copies of passport and proof of address.

Step 2. Legalising the Power of Attorney in USA
After the document is drafted professionally, the next step will be to legalise it for use in India. Without adhering to the specific legalities of this process, the Power of Attorney document will not be accepted by the Indian authorities.
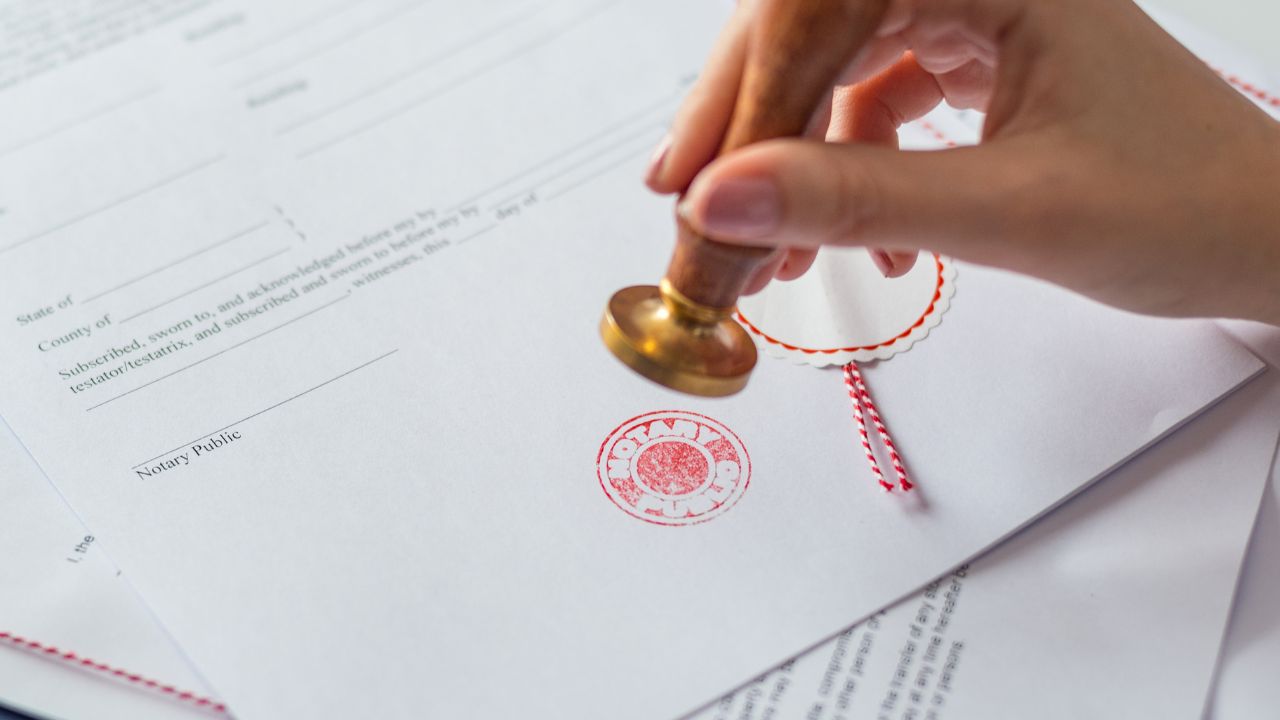
Firstly, the Power of Attorney will have to be notarised by a Notary Public. It is important to find a Notary Public who is aware of the intricacies of Indian legal documents. Sometimes, a Notary Public will refuse to act or deter you from giving a Power of Attorney as they are unaware of the process.
The two witnesses will sign the document in the presence of the Notary Public and the Notary Public may charge you anywhere between $20-$100.
The next step will be to visit the Indian Embassy or Consulate at New York, Washington DC, Houston, San Francisco, Atlanta or Chicago. You can visit the location nearest to you to get your documentation attested. The Indian High Commission has specific requirements for individuals who require attestation of their documents. Along with other documentary evidence, you will have to book an appointment and pay a fee of $20 per page.
Step 3. Registration in India
Once your Indian Power of Attorney is legalised in the USA, send the document via registered post to the address of your Attorney in India. Your Attorney will need to register the Power of Attorney in the offices of the Sub-Registrar of the relevant area in India. Your Attorney will be required to present and submit evidence of his/her identification alongside the Power of Attorney. A small fee will also be payable to process the document.
Once the Indian Power of Attorney has undergone the legal formalities as described above, it becomes active and your Attorney can use the document for its intended purpose.
For assistance with your Power of attorney from the USA to India, please see our POA Pack Service.


